Author: paul

  • Pedal Power Update

    A very useful site is the one for Bosch, which produces the after market replacement and spare engine alternators. The PDF downloads from this page have all the technical specifications of the alternator for each vehicle engine type. (Ed Update: Google ‘Bosch Alternator Wiring’ should find the details that you are after.)

    The budget

    Someone has asked about what the budget was… I have spent maybe $250 up to this point, but now knowing what I need it would be a little less. Some things could be purchased on e-Bay etc.

    • Bicycle – Already had this, and can continue to be used as per normal.
    • Bicycle trainer $115 on ebay (mine was new) (eg. http://shop.ebay.com.au/?_nkw=bicycle+trainer) Remove and throw away resistance roller.
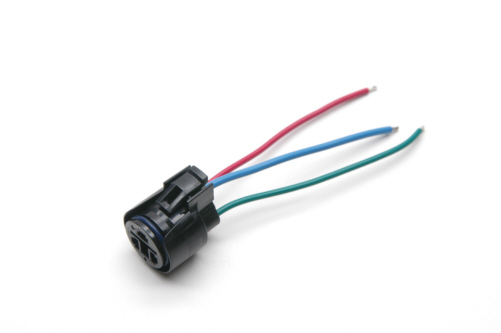
    • Alternator $55. From City Dismantlers, Gepps Cross (Toyota Section) Connecting plug – free – worth asking for it when you get the alternator, as mine was stripped from the wiring of a wreck.
    • Old wooden shelving $??. It’s what I had lying around.
    • Assorted Hardware: screws, bolts, toggle maybe $60. I used stainless steel toggle for tensioning, and Stainless U-bolts to clamp the trainer to the board. (Not the cheapest solution, but reusable parts.)
    • Aluminum L section (cut and drilled to suit) $6 Purchased from Bunnings in 1.6m lendth.
    • 12V Battery (required) $28 from Jaycar 12V 6AH Sealed Lead Acid. No reason for this specification other than this is what I had around.
    • Switches with ‘missle cover’ $12. Always wanted on of these I want to install add a couple more.. a second one to switch the ‘load’ on… alternator has some trouble starting to generate if another load is pulling from the battery, and on to isolate the battery.
    • Spade and Blade Crimp connectors $2.75 (per pack of 8) Various sizes. Still need to find proper size for battery terminal connection to alternator.
    • Cables $?? Scavenged from various bits and pieces. Plan to use regular extension cable (from Bunnings) to extend ‘Ignition’ and ‘Load’ switch so that they are accessible from the handlebars while on the bike. (I might have to rethink this as these are rated for 10A AC, and some of the applications that I am looking at use 30A rated wire.
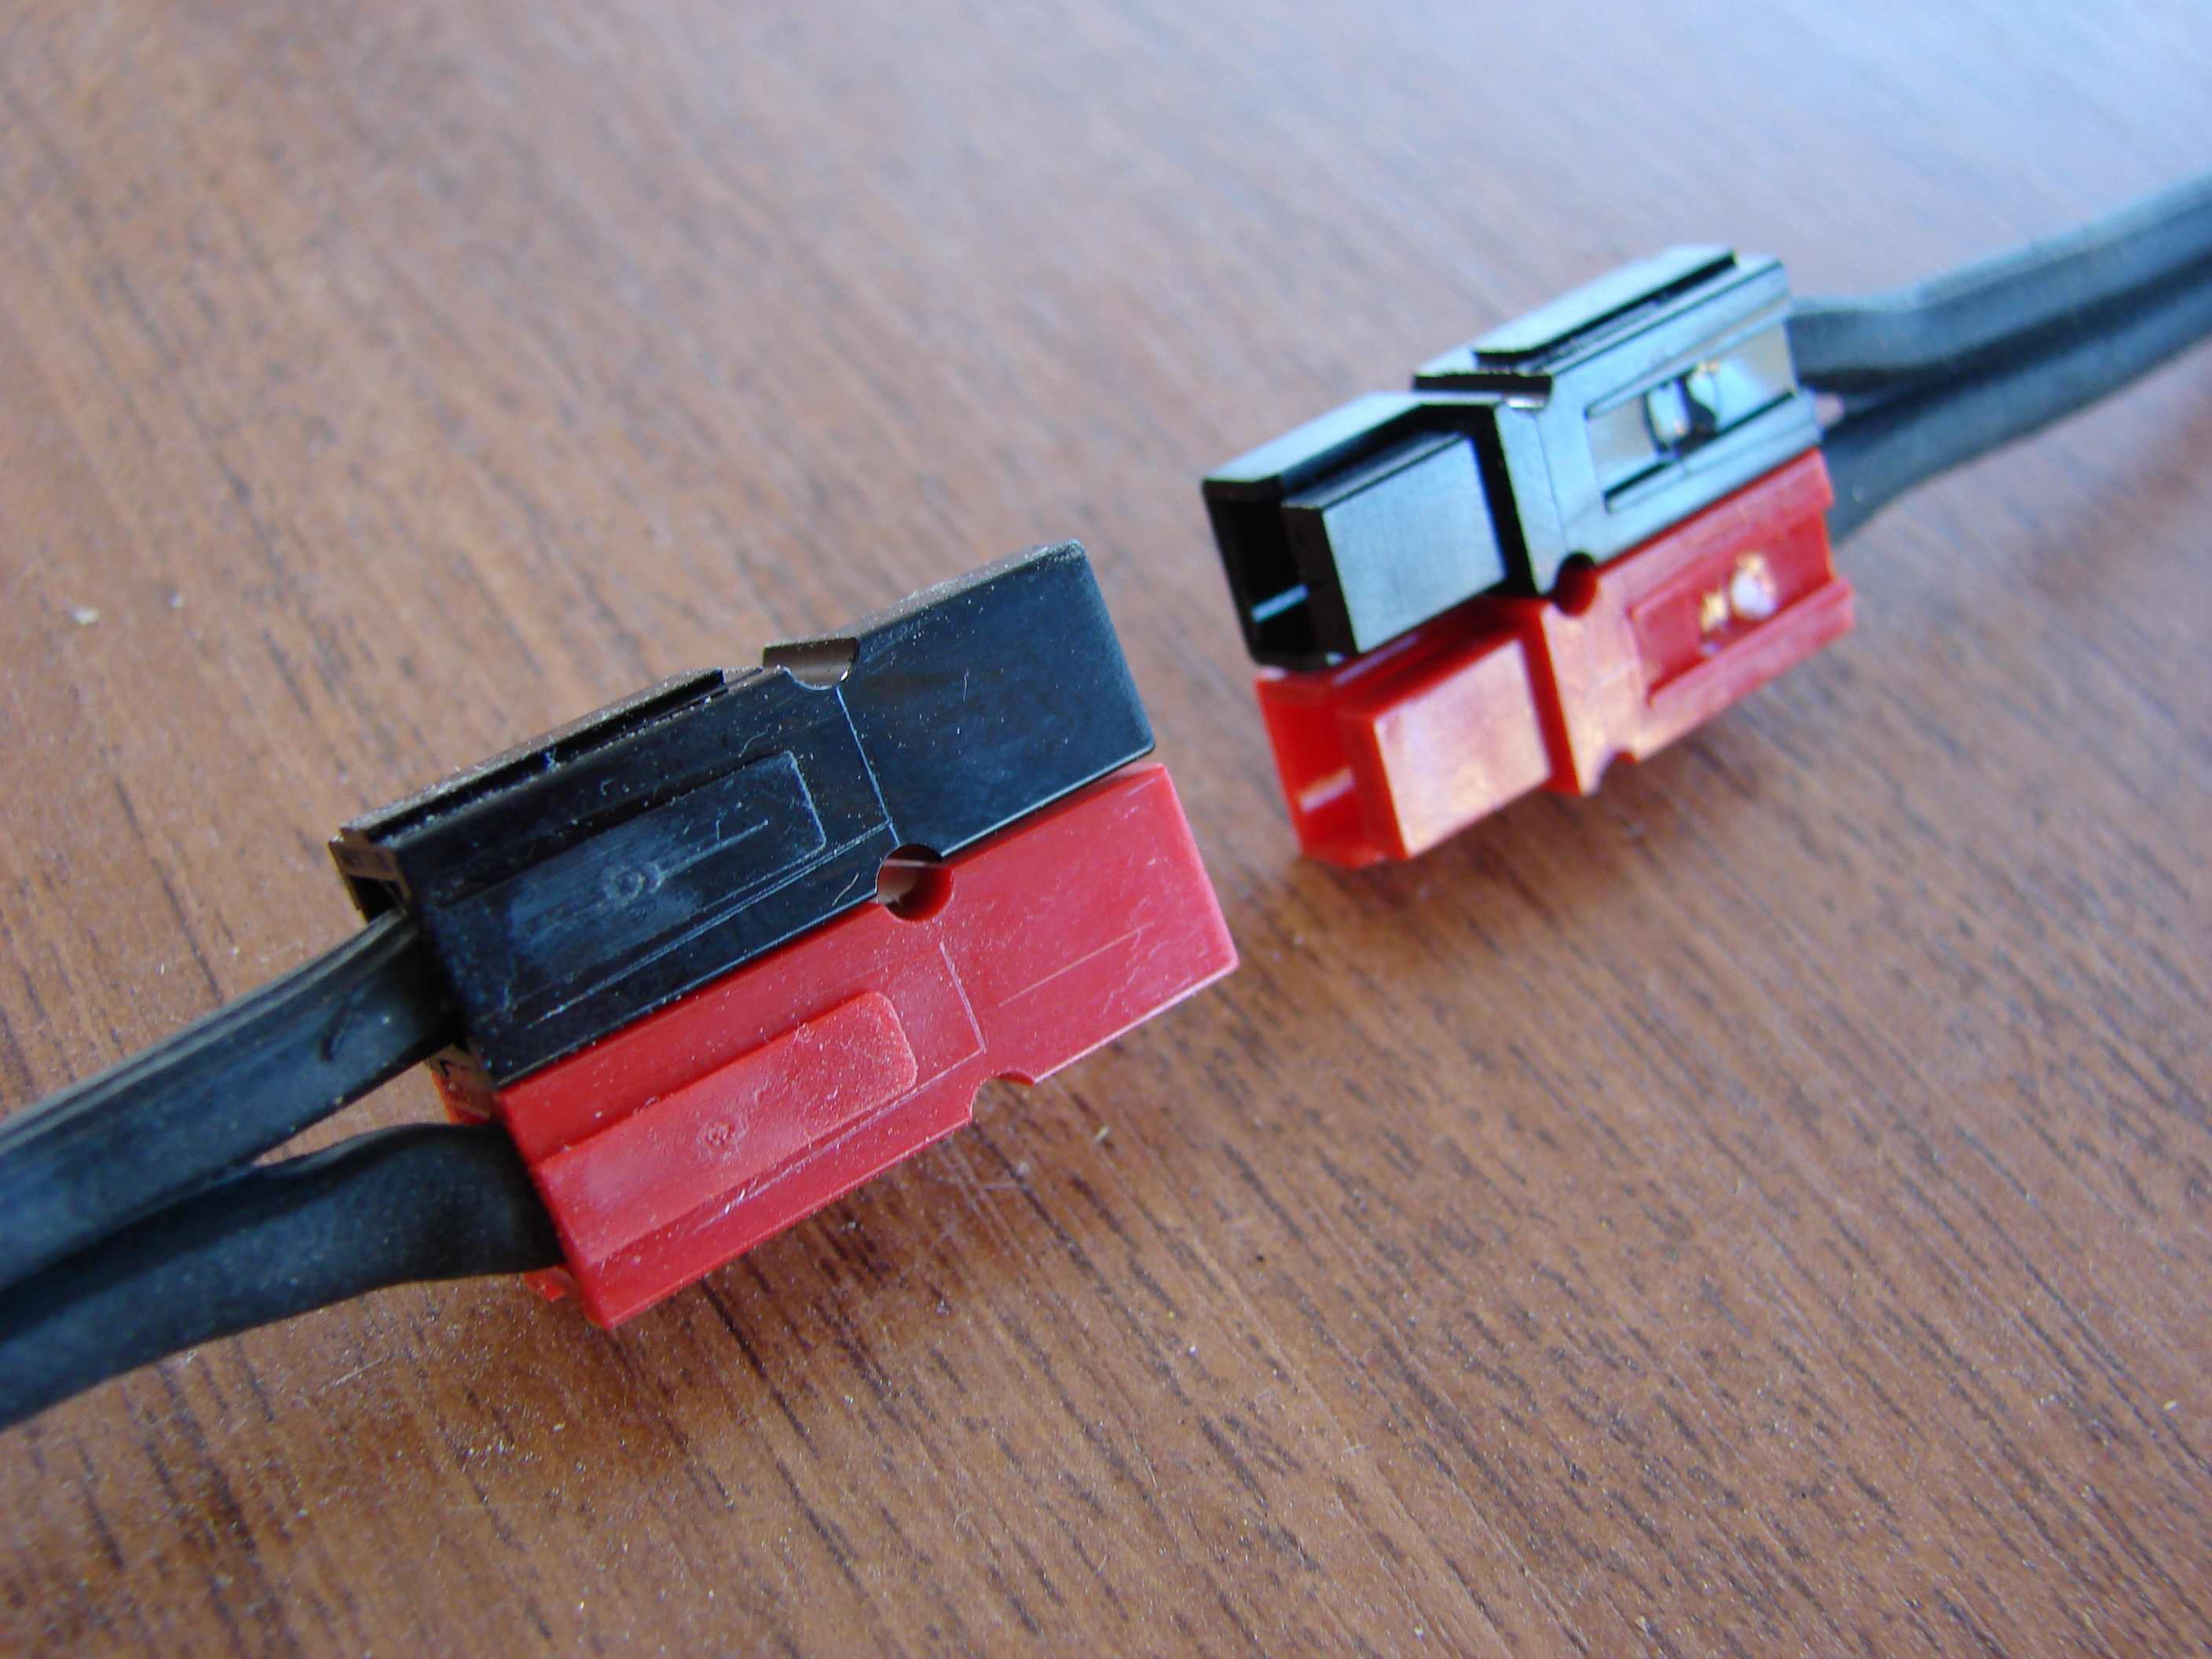
    • Anderson Connectors $5 pair from Jaycar. I would like to replace the spade and banana plug connectors that are currently being used, with Anderson 30A connectors where ever possible. (This will be the subject of another blog post with links.)

    I have also bought a couple of boxes from Jaycar to mount these swithes, as well as two LED’s (and resistor) that replaces the usual ‘charge lamp’.

    Other considerations/thoughts/things to try..

    I have tried making a radio call from the bike, powering my Handheld radio. There was sufficient noise on the supply to be heard on the output, while both receiving and (as reported) transmitting. Some work needs to be done to remove this (Large Capacitor + something else.. got some Amateur Radio friends on the case).

    I have a small 240V inverter around somewhere. If I find it, I’ll see if it is possible to run a small TV directly while peddling.

    A summary, of sorts.

    Nothing in this project has really been engineered so I would like at some stage to take a bunch of measurements and do some calculations on the systems efficency etc.

    For example, I would love to get a ‘current clamp’ and get some measurements of the running generator under different loads.

    The alternator has a build in voltage regulator, which works by modifying the current in the rotor windings. This means that the choice of peddling rate doesn’t particularly matter (voltage remains the same) and the gearing is sufficient to spin up the alternator to fairly high RPM’s if required (calculation required).

    Thanks everyone for your interest.


    Update Fri, 24 July 2015: Article transfered to new MawsonLakes.Org website. Minor edits and updates made.

  • Building a Pedal Powered Electric Generator

    Building a Pedal Powered Electric Generator

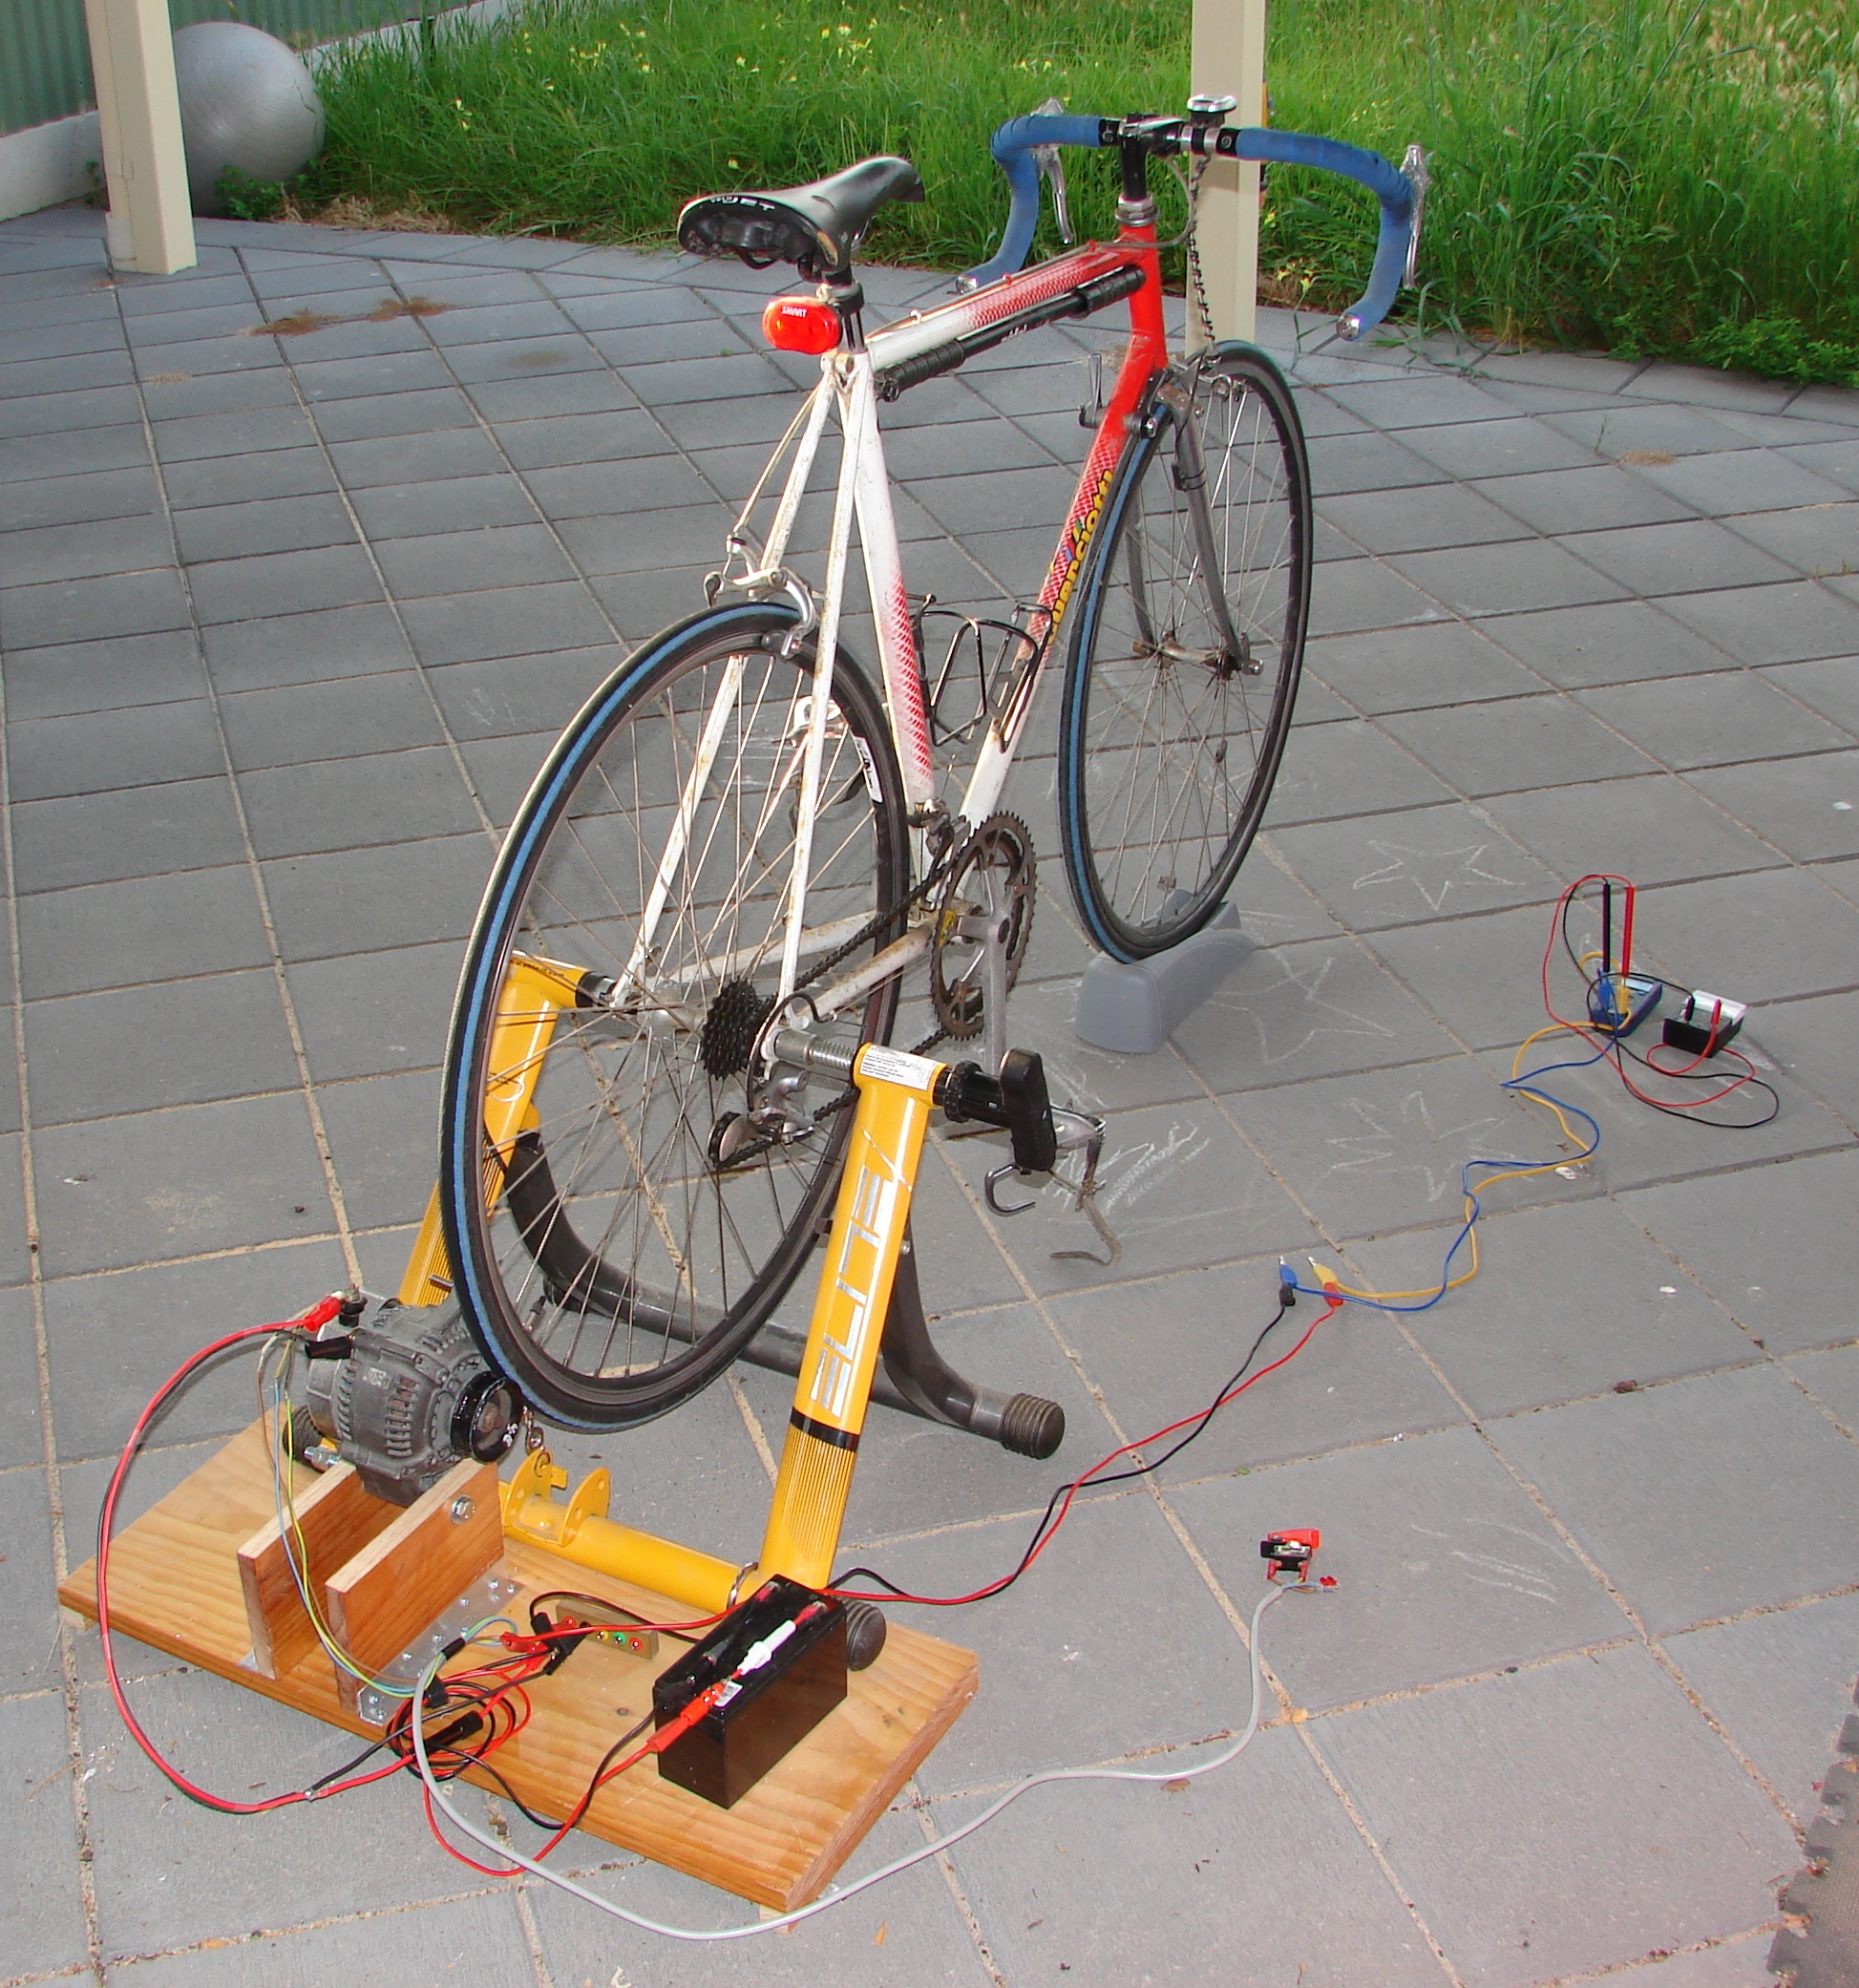
    Greetings.. over the last couple of months, thoughts and materials have been gathering in order to build a pedal powered electric power supply, which could be used, amongst other things to recharge batteries and to power an amateur radio transceiver.

    I am pleased to announce that the first stage of construction, getting an vehicle alternator to reliable produce power, has been achieved.

    Pedal Powered Alternator – Stage 1

    Stage 1 involved getting the alternator mounted properly and generating a stable output voltage.. which it did at 14.7V. This lets the alternator recharge the battery.

    What has been constructed?

    Step 1 – The alternator and wiring harness.

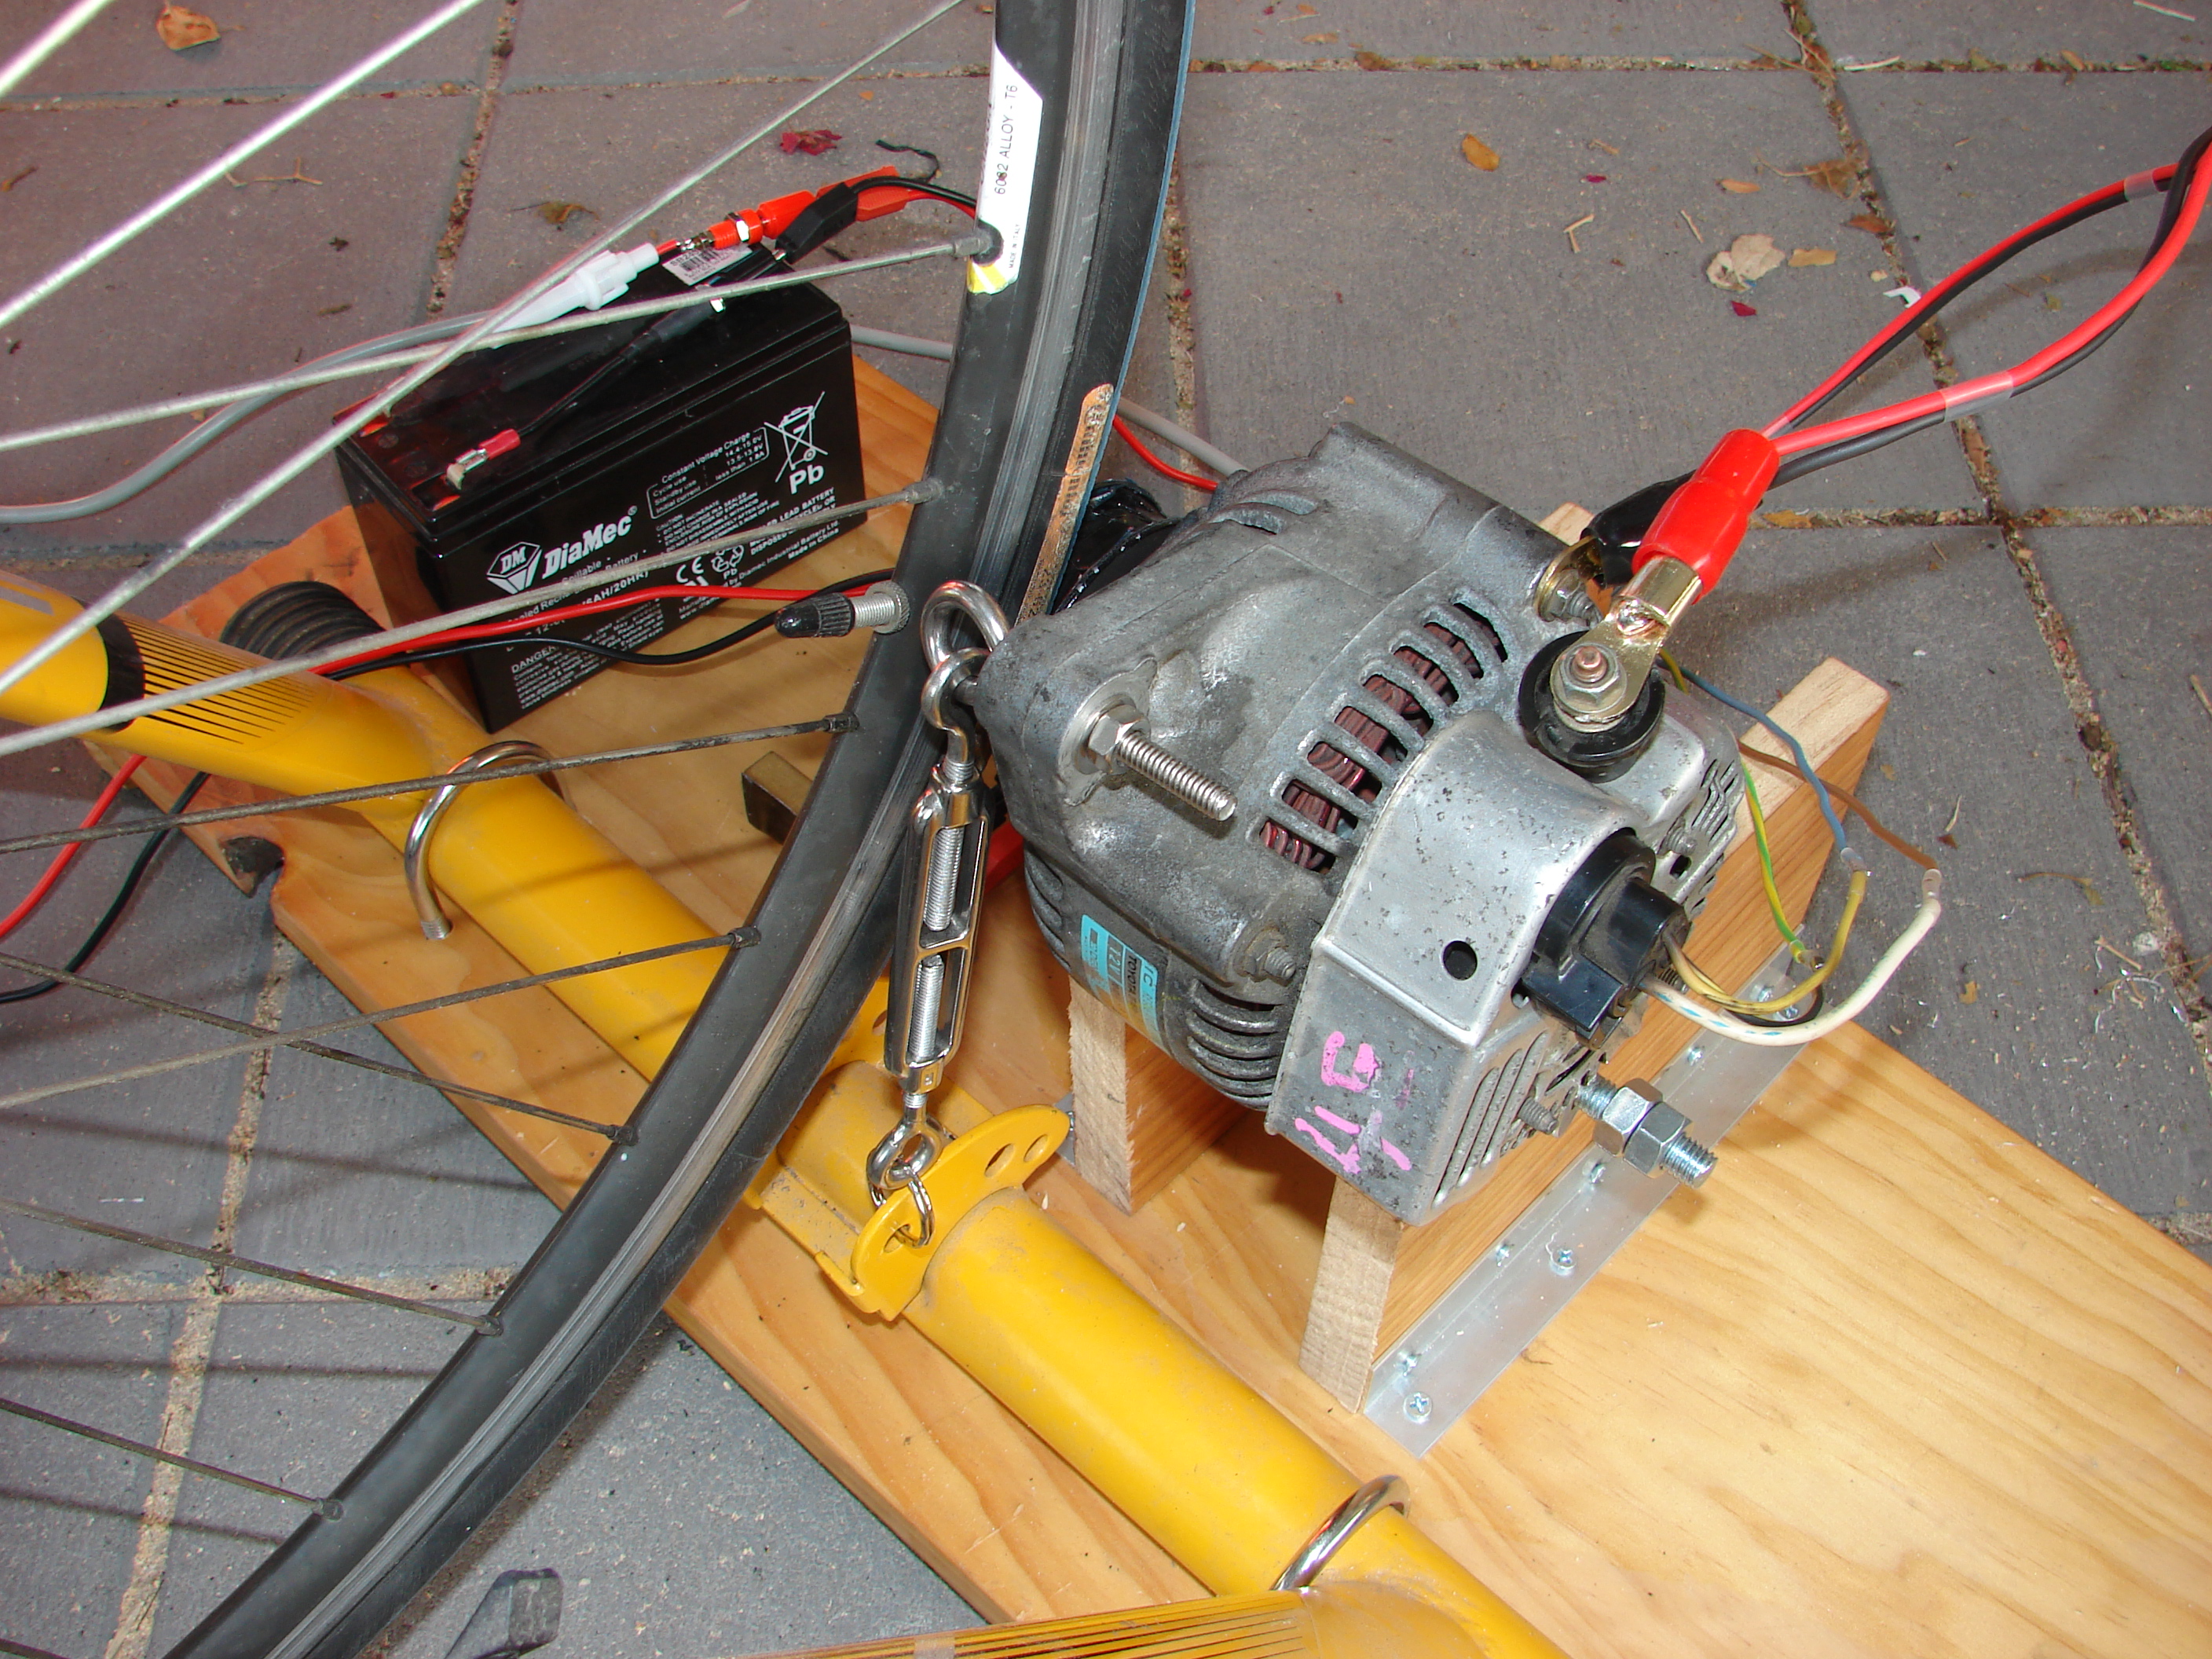
    An alternator from a local used car parts dealer was purchased. I picked up a Toyota alternator for $55 at Gepps Cross wreckers. I started to build up the wiring harness.. it wasn’t really possible to test anything properly as (apparently) the alternator only starts to kick in at around 800-1000 RPM. Some quick calculations indicated that that the racing bike would be able to do provide this (with a direct friction drive with the wheel) at reasonably low speed (6km/h – simulated, it’s on a trainer.) It may be necessary to even further reduce the ratio by fitting a larger wheel to the alternator. This would also help with the traction if it was something like a go-cart or small sack truck wheel.

    When obtaining the alternator, it is definitely worth asking for the connecting plug at the same time. Mine was stripped from a wreck at the wreckers, and supplied for no cost, which was quite handy. (I did have to go back the day after to ask about getting it though.)
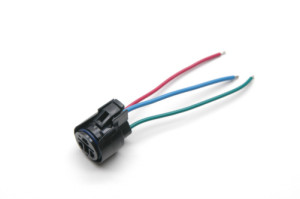
    Wiring_harness_500
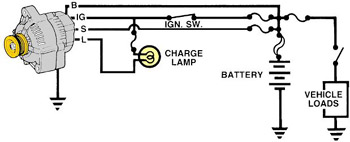
    The alternator was connected up like this… no charge lamp was used at this stage.
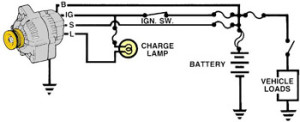
    alternator-wiring

    Step 2 – Mounting.

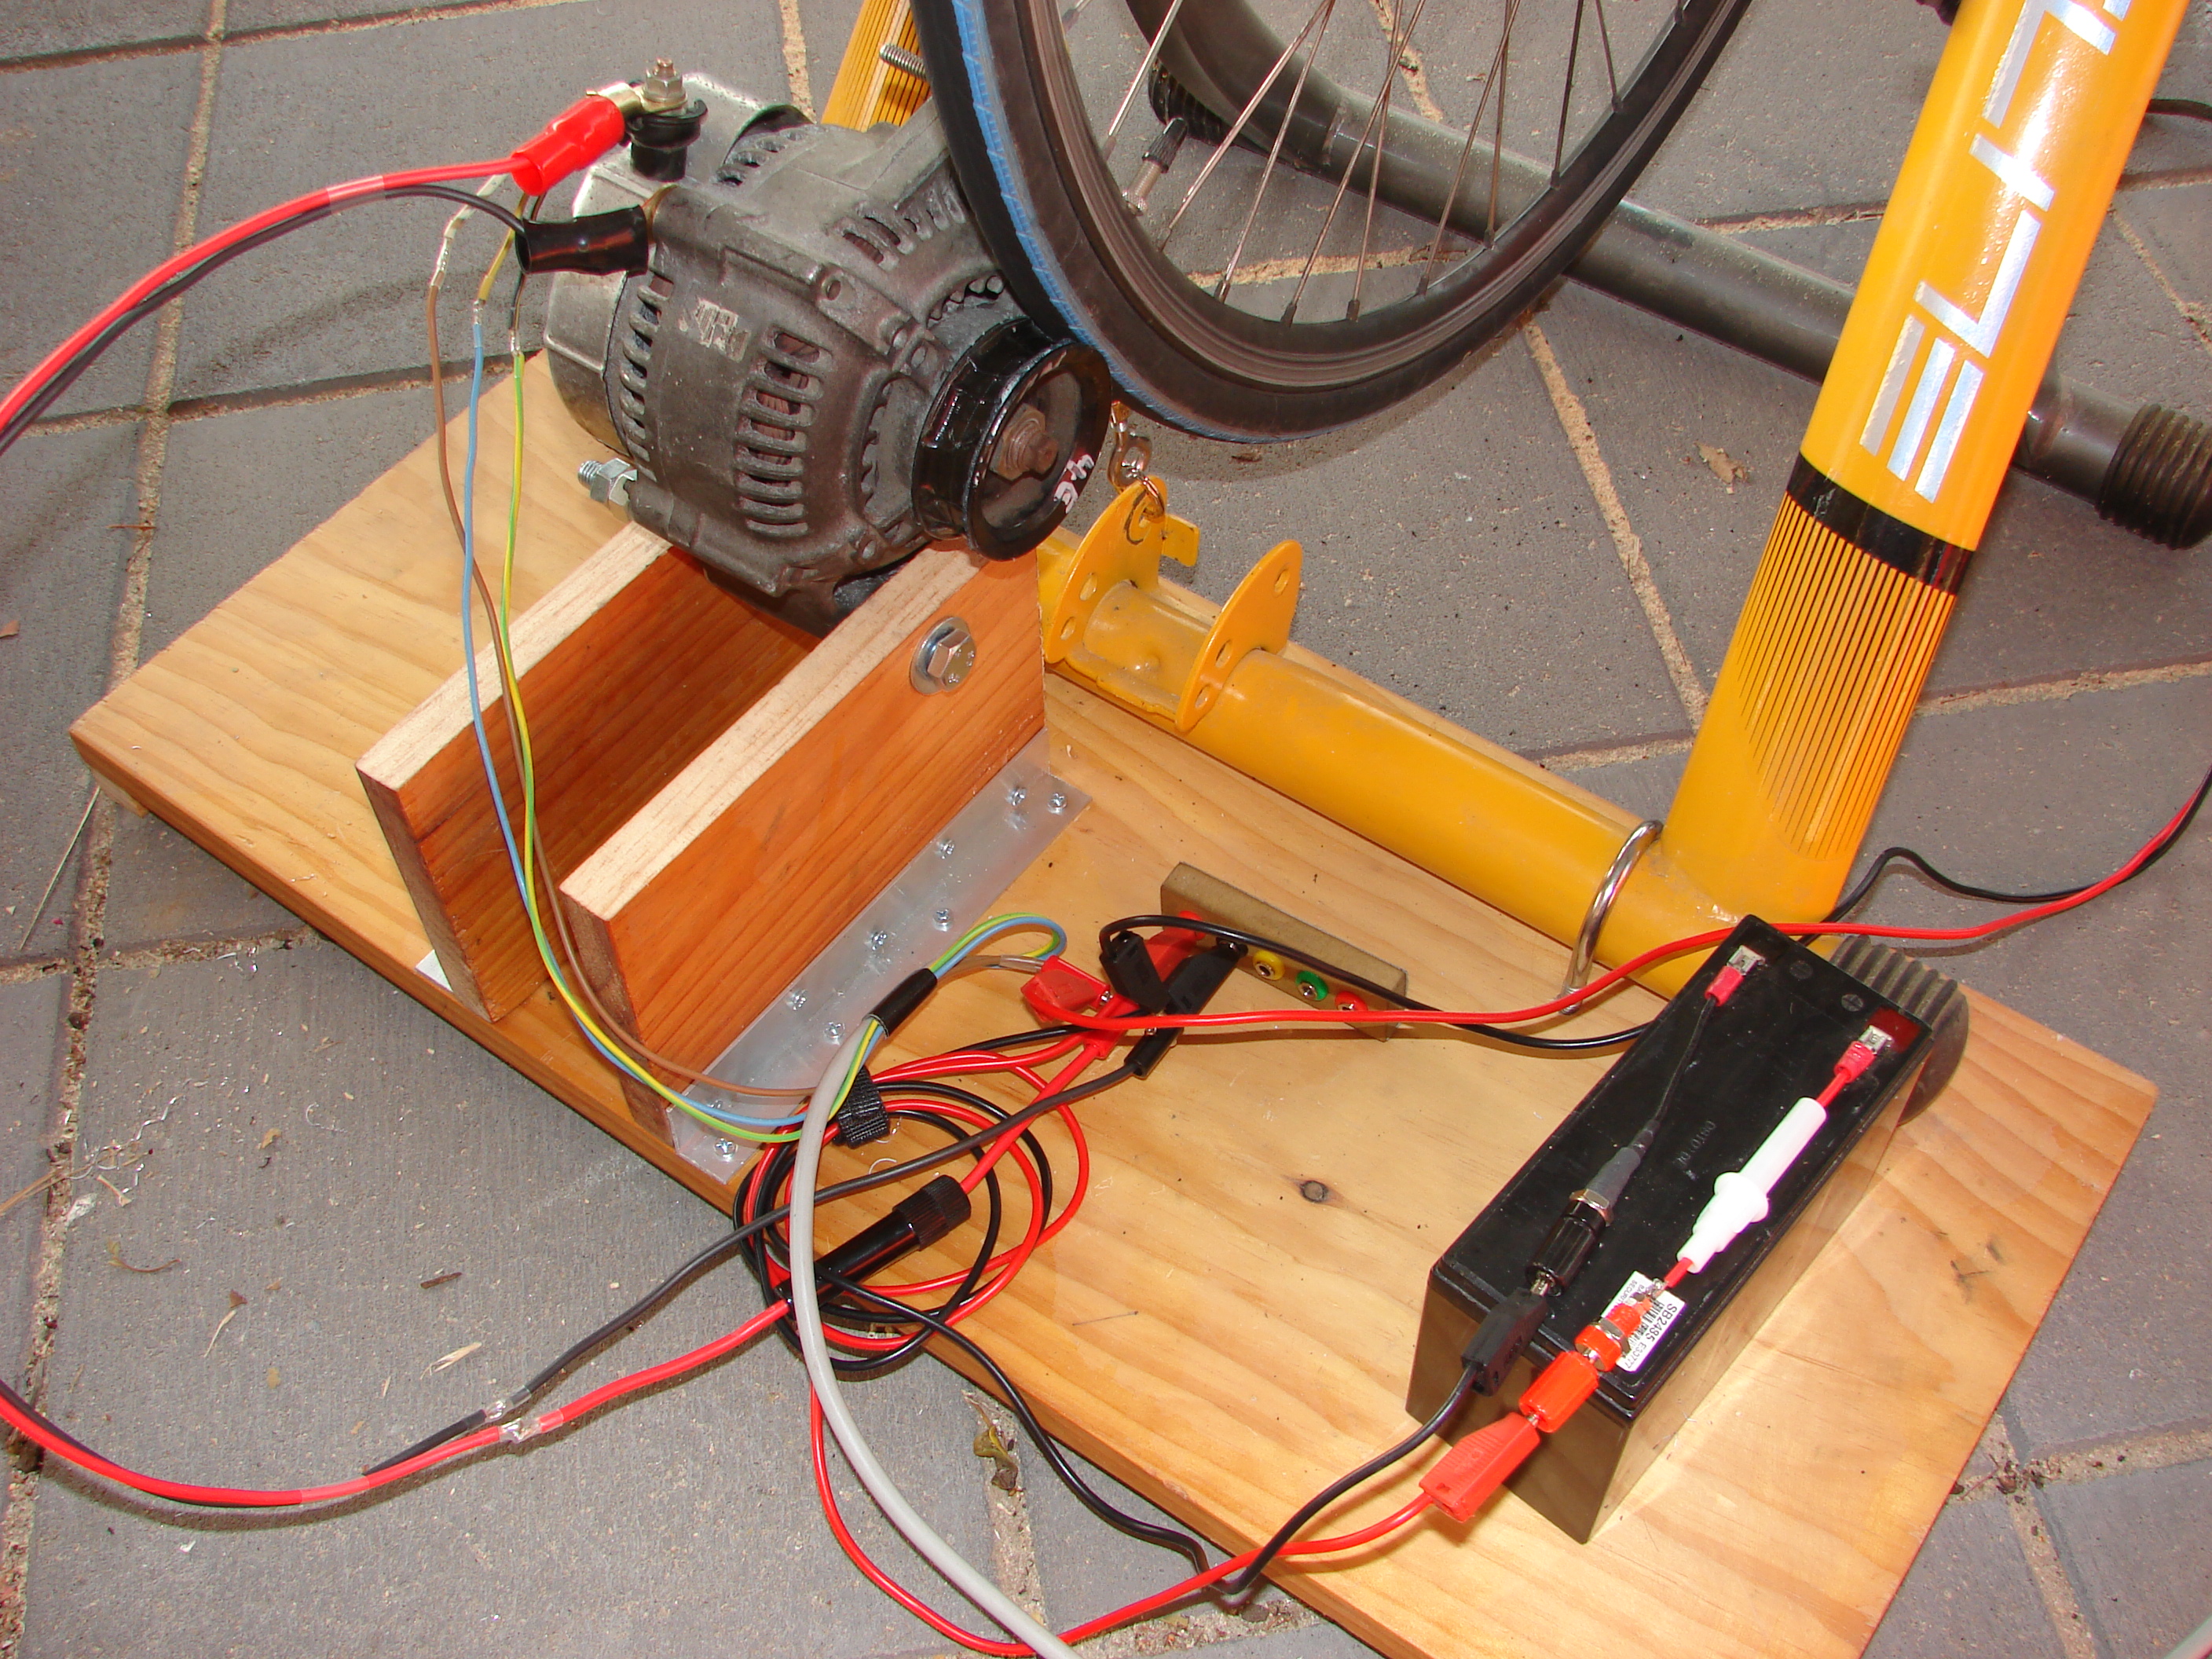
    The mounting for the alternator was the biggest concern. It needed to be sturdy enough to hold the alternators weight and allow it to be held against the bikes tire and be rigid so that there weren’t issues with vibrations as the alternator and the bike wheel were spun up.

    A mount made out of welded steel would have been possible, but an old pine board was also handy and fitted the bill quite well. A length was cut to go under the rear struts of the bicycle trainer, and the couple strips of wood were added for feet. The trainer was bolted down to this with a couple of 50mm stainless steel u-bolts.

    A stand for the alternator was built from couple of pieces of pine board, length ways. The alternator was mounted by drilling a hole through the boards for a bolt, which allowed the alternator to pivot against the rear wheel of the bike. These boards are held in place by two full length brackets made from aluminium L sections, cut and drilled to suit.
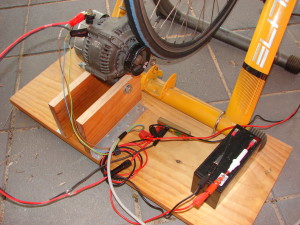
    dsc05473
    The final piece of the mounting is an eye-bolt through the other mounting hole on the alternator and a toggle connected to the base of the bicycle trainer stand (where a suitable hole had already been placed), which holds the alternator against the tire.
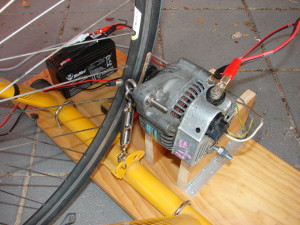
    dsc05474

    Step 3 – Assembly and Testing

    Everything was assembled and a couple of trial hand cranks were done to run the alternator up. Everything ran smoothly without the alternator energised to produce power.

    With the ignition switch on, but with the alternator just resting against the bike tire, the surfaces would slip as the alternator started producing power. This was solved by adjusting the tension in the toggle bolt holding the alternator against the tire.
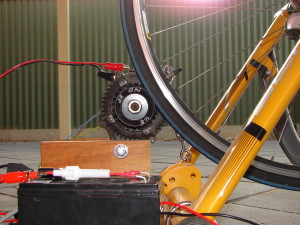
    dsc05478
    While peddling, the alternator produces 14.7-14.8V, and can be used to charge the battery that is currently attached.

    What next?

    The next step is to see what the system is like generating power for various loads.. and then use it to produce power for real world applications.

    I plan to have it on display at the upcoming “Wireless Institute of Australia” National Field Day (aka. national publicity day)on the 23rd of October outside of the Bunnings at Parafield airport.


    Update

    The local “WIA National Field Day” event ended up being held in the Salisbury Town Centre (2010) and the generator was successfully demonstrated to work well recharging a battery for a Amateur radio.

    This  article was originally published at “MawsonlakesOrg” on Blogspot
  • Homes of The Future

    This week tune into Directions for SA, on Monday, 4th February, 7pm, Channel 9. The reason? The show, hosted by Kieth Conlon, will be presenting a special screening on “Home’s Of The Future”.

    Dave Jonker’s house features on the program, with the emphasis being on ‘Internet Remote Monitoring and Control’ and control of the home using the Palm Pilot.

  • (Re)Welcome Kit

    After a weeks delay, we were able to fill out the survey and pick up our welcome kit (number 202). It contains vouchers for the Mawson Lakes (UniSA) Sports Centre (free workout and squash game), Jeffries Garden Soils and Peter Engles Garden Centre.

    The kit also contains a Delfin colouring book, and a ‘Moving In’ list of all the useful contacts for the area.

    There is also assorted information on: Bus Services, Paper Delivery, Australia Post (Letterbox specifications and a mail redirection form), Mawson Lakes School, Endeavour College and the Mawson Lake Community Church.

    Contact the Sales and Information Office on 8260 3333 if you’ve moved in and not received yours.

  • Temporary New Home

    Some new details.. these are more current than the ones below.

    Watching as things Develop!
    Contact Details Editor: Paul Schulz (pauls@mawsonlakes.org)
    Why this change? I have left my job in Technology Park at CAE MRad (although I will be around during the day doing some contract work for them). This meant that I had to find a temporary home for it.
    Where is the site now? The site has been shifted to an account at Chariot. They have very resonable rates and had the account setup almost instantly.
  • Does anyone know… ?

    Just a quick report from the Mawson Lakes Quiz night that was held at Endeavour College, oh.. a long time ago now.

    Thank you again to to all our sponsors and to all the people who came. It was a very enjoyable evening. I have a couple of comments from the scorers, Beck and Fiona..

    • Joan of Arc was 19 when she was killed.
    • It has been checked, and only two of you got it right and this didn’t effect the final placings.
    • We’re sorry the questions were too hard. We designed them to be challenging, and obviously they were.
    • Apologies for the scavenger hunt stuff-up. We didn’t realise that there were proper prizes put away for it.

    As planned, the event didn’t make any money, but it did go to show what could be done. A thank you also to Endeavour College for letting us use their building.

    I’ve just been handed this late notice:

    WANTED: 2 organisers for next years Quiz Night. Must be well organised, able to answer questions (as well as ask them). Applications can be submitted to the Social Committee.

  • Apologies for the delay..

    There haven’t been any updates placed here for some time. This has been due to several compounding factors; a change of job, involment in running a quiz night and trying to get a house built.

    Thank you for you patience. Please look out for the next Mawson Lakes Bulletin in you letter box. We have one now.. Beck built it out of leftover bricks.

  • Mawson Lakes: The place to be seen… with your car

    There were several people, including a photographer, gathered around a shiny brand new car up by the decking on the lake. Maybe we can look forward to seeing Mawson Lakes featuring in a new car brochure sometime soon? It was getting dark so I couldn’t tell what sort of car it was… did any one else get a look?

  • Looking for a Door Intercom?

    Posted by C M James

    In my search for the correct door intercom system to suit our requirements for our new home, I discovered many types available. Of them all, Door Guard seemed to offer the most value.

    The system is permanently wired, no batteries required and suitable for new or existing homes. The unit is flush mounted, with electronic door chimes, illuminated push button and auto level control, consisting of one door station and one room station, plus it can be expanded. The room stations are available in six decorator colours and the door station in two colours.

    The basic system does not include installation or wiring, however, it may be safely installed and wired by the handy person, using colour coded cable at approximately $1 per metre. This is a door answering system only, however, if you wish to communicate between rooms, there is a variety of options in the Multicom range.

  • Lecture Series on Intelligent Technologies

    The UniSA is holding a public lecture series on “Intelligent Technologies for Sustainable Development”, co-sponsored by DSTO and 891 ABC Adelaide.

    • DSTO Lecture 1
      Who Can Shape Today’s Intelligent Technologies Into Tomorrow’s System?
      Wednesday 10 May 2000, 6.00pm GP 1-09
      Professor Stephen Cook
      School of Electrical and Information Engineering, University of South Australia
    • Lecture 2
      The Intelligent Use of Materials for Intelligent Technologies
      Wednesday 24 may 2000, 6.00pm GP 1-09
      Professor Roger Horn
      Ian Wark Research Institute
    • Lecture 3
      Wednesday 7 June 2000, 6.00pm GP 1-09
      Intelligent Decision Making: A Mathematical Perspective
      Professor Jerzy Filar
      School of Mathematics, University of South Australia
    • Lecture 4
      Wednesday 14 June 2000, 6.00pm GP 1-09
      Leadership In the Technological Age
      Professor Lin
      Centre for Advanced Manufacturing Research, University of South Australia


    Attendance is free! and each lecture lasts for about and hour including question and discussion time. Stay on after for refreshments.

    To register your interest, please ring Moira Mawler (ph. 8302 5792).